Nudibranch Settings
My Exact TG-7 and Backscatter Mini Flash 2 Settings for Nudibranch Photography
One of the questions we are asked most often is simple: what settings are you actually using when photographing nudibranchs with the TG-7 and Backscatter Mini Flash 2?
Our Exact Starting Camera Settings
| Setting | Value |
|---|---|
| Mode | Aperture Priority / A Mode |
| Aperture | F2.0 to start |
| ISO | 100 |
| Flash | Fill In / Forced Flash |
| White balance | Auto |
| Focus | Spot AF / small focus point |
| File format | RAW + JPEG |
| Drive | Single shot |
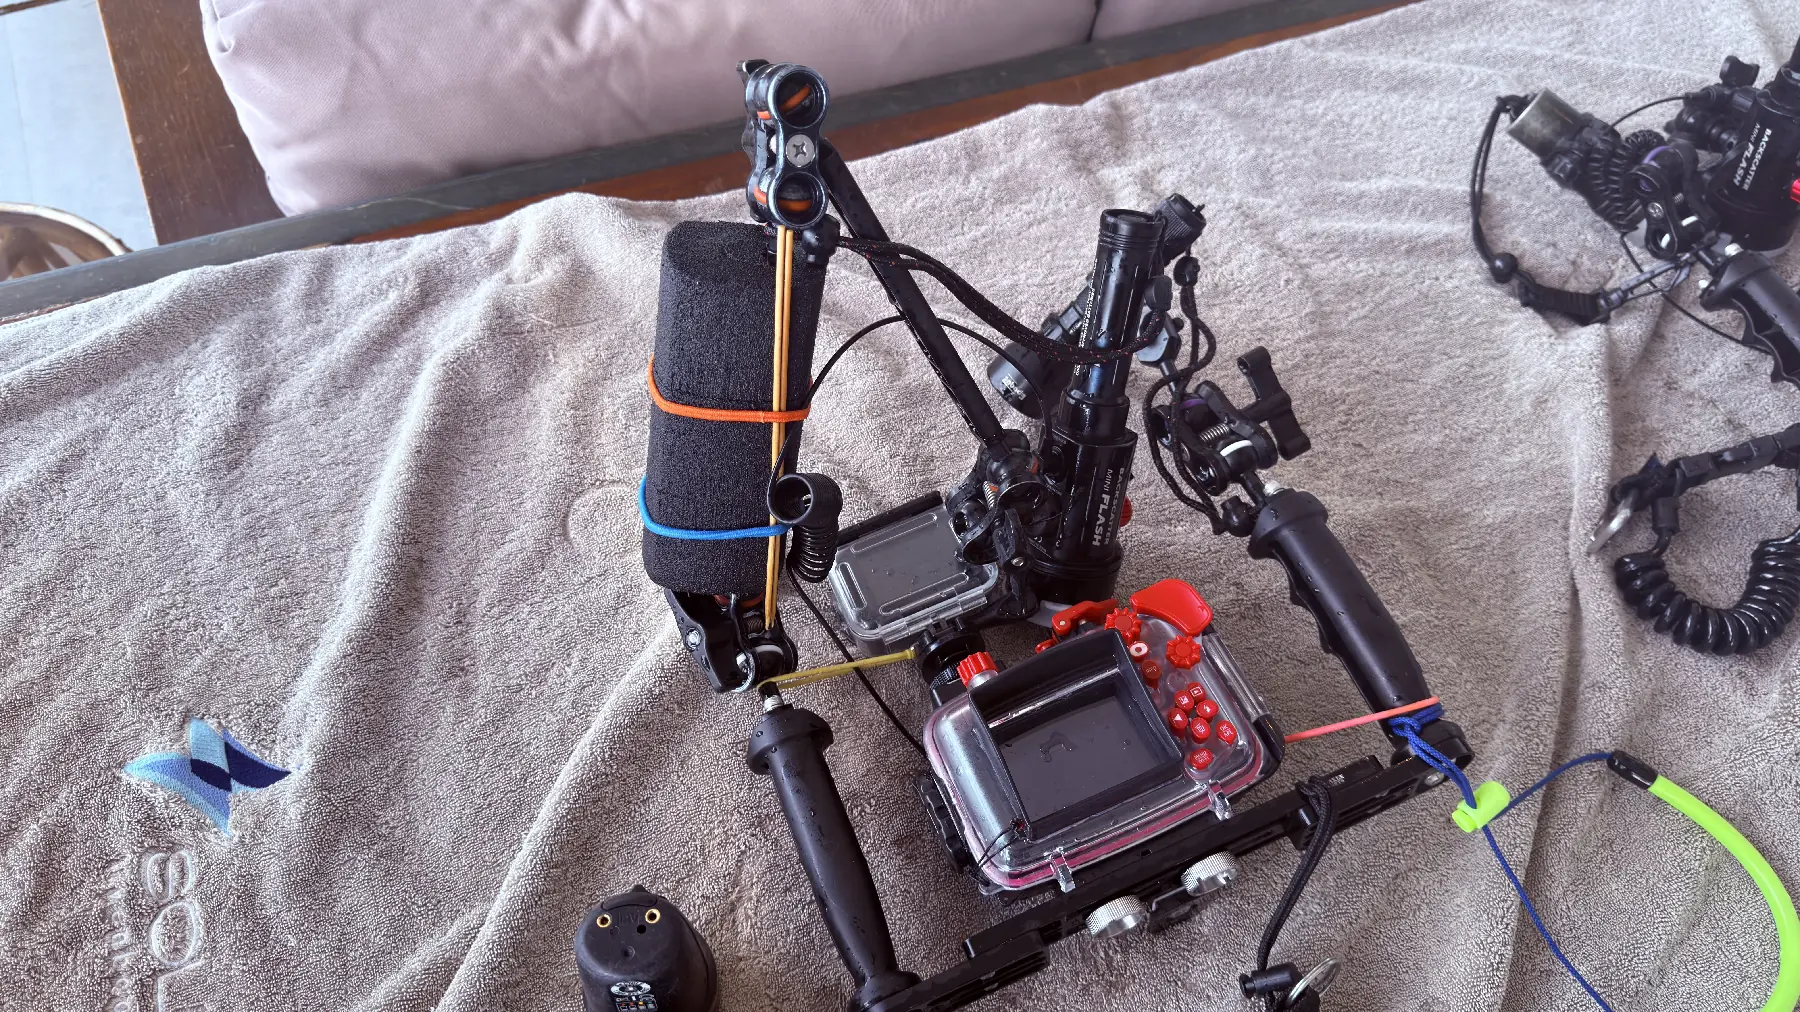
Backscatter Mini Flash 2 Settings
| Setting | Value |
|---|---|
| Mode | TTL for normal nudibranch photography |
| Position | Above and slightly to one side |
| Angle | Aimed across the subject, not into the sand |
| Distance | Close enough for soft, controlled light |
| Fibre optic cable | Direct connection from housing to strobe |
Why F2.0 Works Well for Nudibranchs
F2.0 is a useful starting point because it helps separate the nudibranch from the background. This can make the image look cleaner and less like a flat identification photograph.
If the subject is long, curled or at an angle to the camera, stop down to F4.0 or F5.6 for more depth of field. For very small detailed subjects, F8.0 can be useful.
Where to Focus
For many nudibranch images, the rhinophores are the key detail. If the rhinophores are sharp, the photograph often works. If they are soft, the image usually feels slightly wrong even if the rest of the body is colourful.
- Focus on the rhinophores when they are visible.
- Focus on the face or leading edge if the rhinophores are hidden.
- Take several frames because small movements make a big difference.
Our Nudibranch Shooting Workflow
- Find the subject and check the surrounding area.
- Settle your buoyancy before moving the camera in.
- Look for the best angle, not just the closest angle.
- Position the strobe slightly above and to one side.
- Focus on the rhinophores or face detail.
- Take a test frame and review the lighting.
- Adjust strobe angle before changing camera settings.
- Take several careful frames, then leave the subject undisturbed.
Composition Tips for Nudibranchs
Get Low When Possible
A low angle often creates a more engaging image than shooting straight down. It gives the nudibranch character and helps separate it from the seabed.
Use Negative Space
Do not always fill the entire frame. A little space around the subject can make the image feel calmer and more deliberate.
Watch the Background
Bright sand, broken coral or messy algae can distract from the subject. Sometimes moving a few centimetres changes the whole photograph.
Common Nudibranch Mistakes
Focusing on the Body Instead of the Rhinophores
The body may be colourful, but the viewer usually looks for the face and rhinophores first.
Shooting From Directly Above
Top-down shots are useful for identification, but they often lack impact. Try a lower, more personal viewpoint.
Aiming the Strobe at the Sand
This creates backscatter and bright patches. Angle the strobe across the subject instead.
Moving Too Quickly
Slow down. Nudibranch photography rewards patience and small adjustments.
When to Use Microscope Mode
Microscope Mode is excellent for tiny nudibranchs, rhinophore detail and very small subjects where you want maximum magnification. For general nudibranch portraits with a strobe, A Mode is often more flexible.
Useful Future Upgrades
- Backscatter Optical Snoot: for black backgrounds and more creative lighting.
- Wet macro lens: for smaller subjects and extra magnification.
- Second Mini Flash 2: for more balanced light, although one strobe is enough to learn properly.
Final Thoughts
These TG-7 and Backscatter Mini Flash 2 settings give a reliable starting point for nudibranch photography. Start simple, get the focus right and make small lighting adjustments. The best images usually come from patience rather than complicated settings.